10 Stop Filter Test
Comparing 4 different 10 Stop ND Filters
Neutral density (ND) filters are a great tool in a photographers tool kit to help create unique images. From silky waterfalls and rivers, ultra smooth lakes and oceans to hiding people from a scene ND filters are a must have for any photographer.
How does it work? An ND filters act like sunglasses for your camera by blocking the light that enters your lens and hitting the cameras sensor. To counteract the ND filter the best way is to do a longer exposure to get the correct exposure.
One thing which is hard to understand is why there is such a price difference between the various brands of filters. In this test I have a price range from $20 all the way to $270. That is obviously a massive variation in price so what is the difference?
The filters on test:
- RISE ND1000 - $20
- B+W 77mm SC 110 Solid Neutral Density 3.0 Filter (10 Stop) - $150
- Breakthrough Photography 77mm X4 Solid Neutral Density 3.0 Filter (10 Stop) - $270
- LEE Filters 100 x 100mm Big Stopper 3.0 Neutral Density Filter - $239
When using a ND filter there are 4 keys things you need to be aware of when picking a filter.
- Colour Cast
- Sharpness
- Vignetting
- The actual density of the filter.
Colour Cast
When using these dark filters they are blocking a large amount of light which can and most often does effect the final colour tones and white balance of the final image. If you don't shoot in RAW already this is something that you should be doing as this can be fixed in post processing.
Sharpness
When you have a nice camera and lens the last thing you want to do is put a thin piece of glass in front of your lens that makes your images excessively soft.
Vignetting
Vignetting is another distracting result of a poorly made filter. This can be fixed in post processing but ideally there should be only a small amount of vignetting.
The actual density of the filter
Does the filter actually block the amount of light that the label says and why is this important? There are lots of phone apps that help you calculate the exposure time when using ND filters (Photo Pills is my choice). If your filters rating is out by 1 stop this can result in minutes of time difference when doing long exposures.
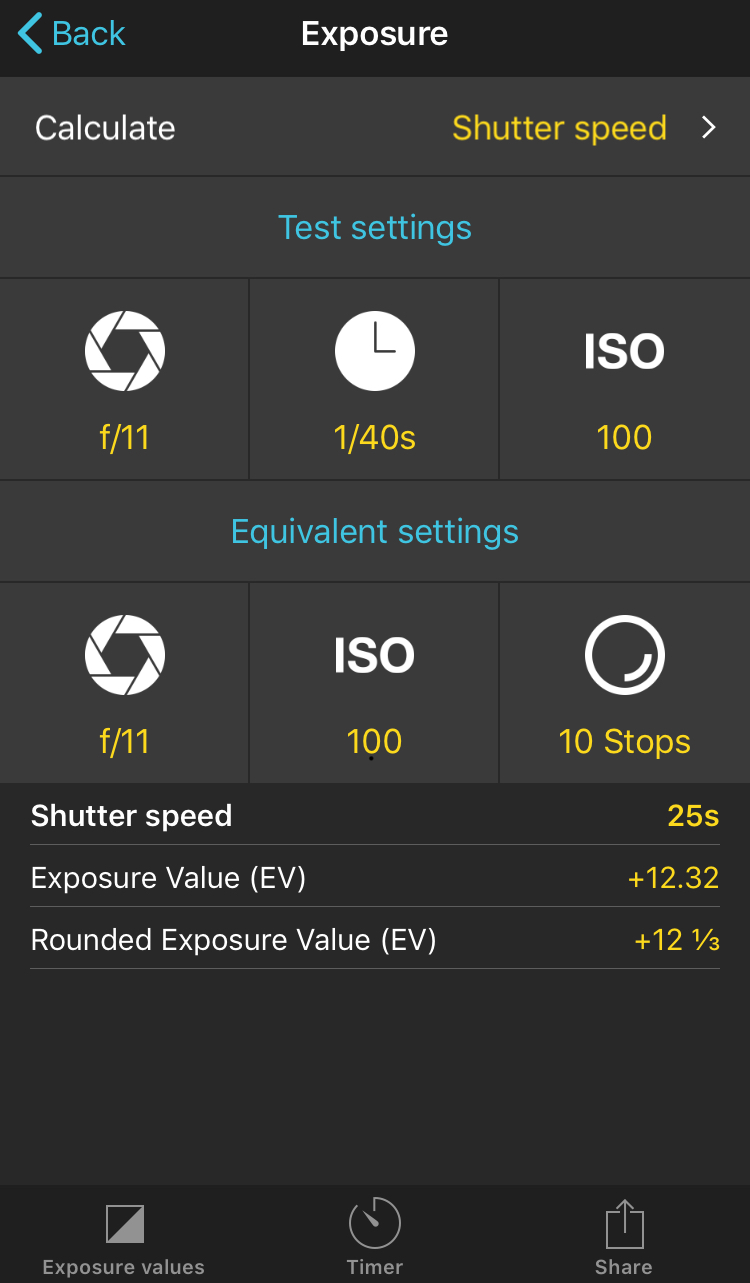
Photo Pills
This app is one on the tool I use on a regular basis. It's helps with location planning, moon phases, exposes calculation, plus many other useful features.
Below are the sample shots from the test I performed with descriptions on each image. I will let you decide what images look best but have added a short conclusion at after the sample images.
-
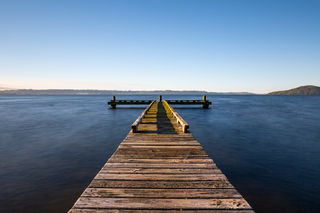
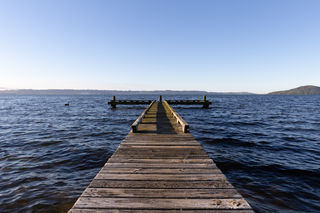 No filter used and is the image I used to calculate the time required for adding a 10 stop ND filter.
 -
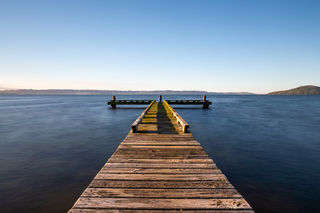
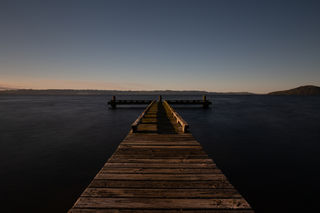 From the base exposure I used Photo Pills to calculate 10 stop of light and this was the result for the RISE ND1000
 -
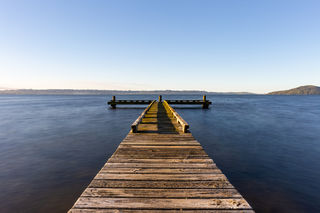
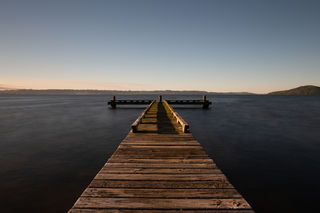 From the base exposure I used Photo Pills to calculate 10 stop of light and this was the result for the B+W 77mm SC 110 Solid Neutral Density 3.0 Filter (10 Stop)
 -
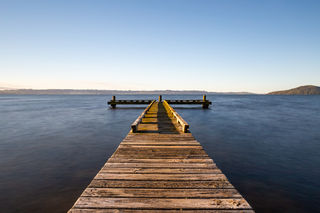
 From the base exposure I used Photo Pills to calculate 10 stop of light and this was the result for the Breakthrough Photography 77mm X4 Solid Neutral Density 3.0 Filter (10 Stop)
 -
 From the base exposure I used Photo Pills to calculate 10 stop of light and this was the result for the LEE Filters 100 x 100mm Big Stopper 3.0 Neutral Density Filter
 -
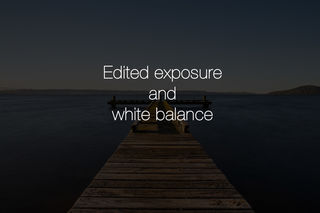
 No filter edited. Exposure was increased by +0 in Lightroom with the following white balance settings: Temp: 6881 Tint: +26
 -
 RISE ND1000 edited. Exposure was increased by +1.79 in Lightroom with the following white balance settings: Temp: 5095 Tint: +3
 -
 B+W 77mm edited Exposure was increased by +0.95 in Lightroom with the following white balance settings: Temp: 4857 Tint: +7
 -
 Breakthrough Photography edited Exposure was increased by +0 in Lightroom with the following white balance settings: Temp: 7000 Tint: +28
 -
 LEE Filters edited Exposure was increased by +1.19 in Lightroom with the following white balance settings: Temp: 12750 Tint: +43
PHOTOGRAPHY BY MARK SMITH
Capturing memories forever